It has been very long time since I posted here and truth is, simply to difficult to keep up with multiple blog sites and work on my novel. So, I am going to start posting cooking blogs on my “everyday” blog. I will post cooking entries under the title “Heritage Cooking”. The blog can be found here and I have two new postings going up in the next couple of days one for bread and another for amazing cookies.
Apple Fritters for A Perfect Saturday
I found a recipe on the internet this week for apple fritters that promised to be easy. Being a sucker for perfect apple fritter I decided to give it a try but of course, being me I had to change up the recipe just a wee bit to make it my own. So, here is my version of the ingredients:
1 heaping cup of All Purpose Flour
1/2 cup of sugar
1 egg
1 tsp. baking powder
2 tablespoons cinnamon
1/2 tsp. pumpkin pie spice
1 tsp. vanilla extract
1/2 tsp. almond extract
3 tablespoons melted better
1/3-1/2 cup of milk
3 medium tart apples, peeled, cored, and diced into small pieces
1. Place a pot of oil on the stove to heat. When a small drop of batter placed in the oil immediately floats to the top, the oil is hot enough to fry.
2. Core and peel the apples and dice into small, pea size pieces. Place the diced apples into a bowl of water that has been very lightly salted. (This will prevent oxidation.)
3. Combine the melted butter, egg, extracts, and sugar. Then add the dry ingredients, mix until the dry and wet ingredients are just incorporated.
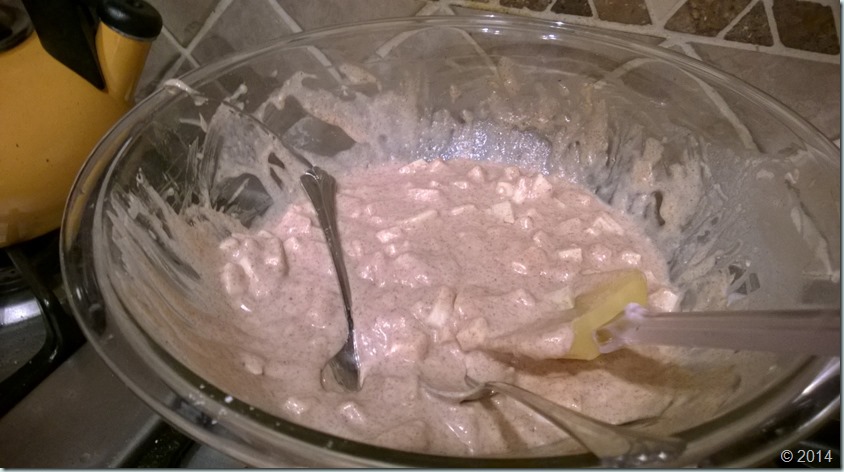
4. Drain the apples and then add the apples to the fritter batter. Mix the apples into the batter gently, the more the batter is stirred the higher the chance of tough batter.
5. Place a spoonful of the batter into the high oil, taking care not to crowd the pan. Be sure to roll the fritter over 30 seconds to a minute into cooking, so that both sides of the fritter can cook.
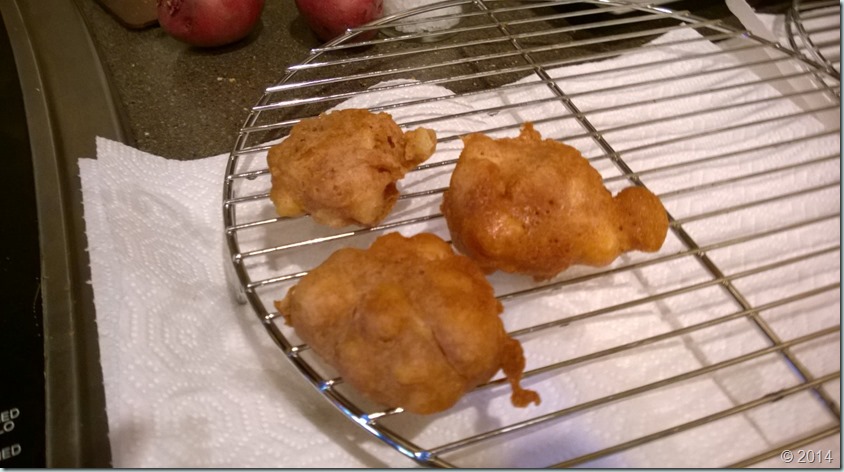
6. Place on a cooling rack for any excess oil to drain and cool lightly.
The apple fritters are wonderful hot and crisp from the frying pan without glaze or powdered sugar. However, they are amazing with a simple glaze or sprinkled with powdered sugar.
I will be making these again. They are easy, delicious and much better than what comes from the best bakery.
The World’s Most Delicious Roast
This pot roast is stupid simple to make and honestly the best pot roast you will ever make. It comes complete with its own gravy which is delicious over mashed potatoes or drenching a hard crusty bread in a sandwich.
Orange Mushroom Pot Roast
1 beef roast (cut is personal preference)
1 can Cream of Mushroom Soup
1 soup can of beef broth
2-5 garlic cloves grated (to taste)
Salt and Pepper to taste
Orange zest and juice from one small orange
1. Brown the pot roast on all sides and transfer to the crock pot on lowest setting.
2. Pour the can of soup over the roast and then fill the empty soup can with beef broth and pout over roast.
3. Grate enough garlic over the roast for personal preference, same with salt and pepper.
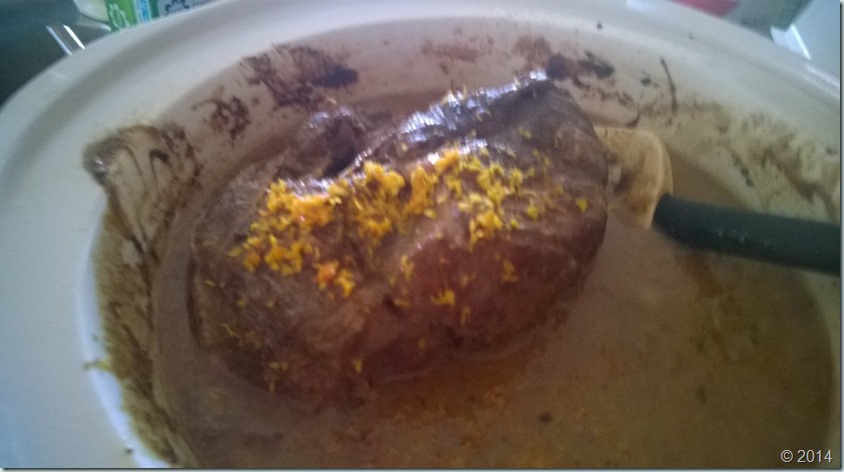
4. just before serving, grate one orange over the roast and squeeze the orange over the roast.
5. Serve and Enjoy.
To be perfectly honest the addition of orange to the pot roast came about because of a mistake but the result was a roast that usually doesn’t have leftovers.
Are you a Cook or a Chef?
It seems like a very simple distinction but it is a vital one in my opinion. Chefs, admittedly my definition, are those individuals that go to culinary school and rigorously follow a recipe for the most basic things. Cooks are those that learned from a loved one or are self-taught and that know that the best tasting food isn’t necessarily going to grace the cover of Bon Appetit anytime soon.
I’m a cook and I’m bloody proud of that fact. I’m not afraid to open the pantry and the freezer and experiment with foods and spices. Sometimes those experiments are horrible and the dogs thank me, but most of the time the experiments are successful and tasty. I admit when I glance at recipes it is more for inspiration than directions. I don’t follow recipes. The picture is one such lovely experiment that resulted in the best pot roast we’ve ever had. I will share the recipe this week, I’ve been meaning to but I’ve been caught up in finishing writing my novel.
Chefs follow recipes and try to make food as intimidating and scary a possible. All of those cooking shows are trying to sell cookware or cookbooks more than they are about getting people to try and cook for themselves. They make it sound like making a loaf of bread or a batch of cookie dough is clinical science. Sure, there’s science behind cooking but there were excellent cooks and amazing food long before it was reduced to cold, clinical measure that and measure this science.
Be bold, be adventurous. Stop using so much salt that the “professionals” use in their recipes and experiment with other spices and ingredients instead. Get the basics down and know what flavors and spices taste good to you and yours. Once you know the basic recipe, then you will be free to experiment in changing up the basics. Experimentation leads to the tasty goodness that is hiding in your cabinet waiting to bust out.
Spicy Carrots
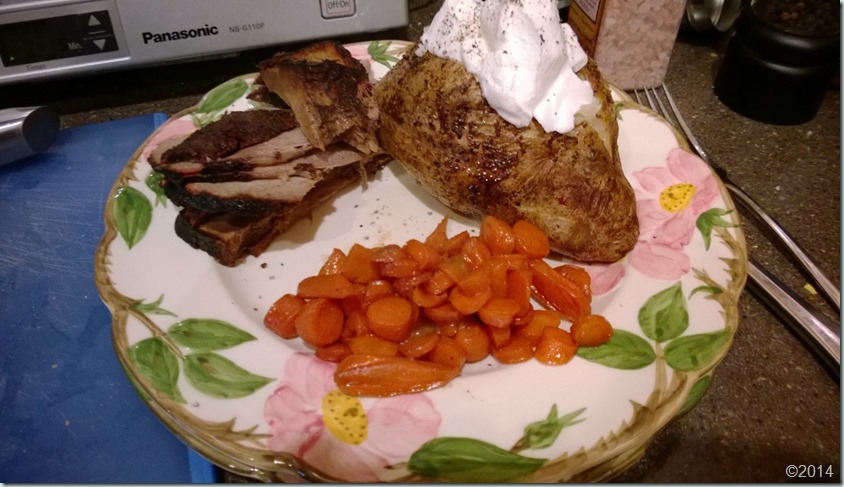
Cooked carrots are not a hugely popular or frequent dinner choice of vegetable but sometimes you just have to suck it up and make cooked carrots. We hosted New Year’s and still had a lot of leftover baby carrots that I needed to utilize before they went wonky and the next thing you know, there are delicious cooked carrots sitting alongside grilled flank steak and baked potatoes.
Spicy Carrots
Leftover carrots, cut into various shapes and sizes
Honey
One, or more, dried chili peppers
Salt and pepper to taste
This recipe is really that simple. I combined enough honey to cover the bottom of a small sauce pan and added the chili. I then allowed the honey to melt slowly and the pepper to soften and infuse the honey with the spice. I then added the cut carrots and allowed to be warmed through and thoroughly coated in the spiced honey. The intent wasn’t to cook the carrots to mush, but rather to warm and be coated in the glaze. The carrots did cook down some but were still firm and crunchy when eaten. The amount of spice and honey will vary depending on the amount of people sitting down to dinner, these won’t hold up very well to reheating.
Versatile Ranch Beans
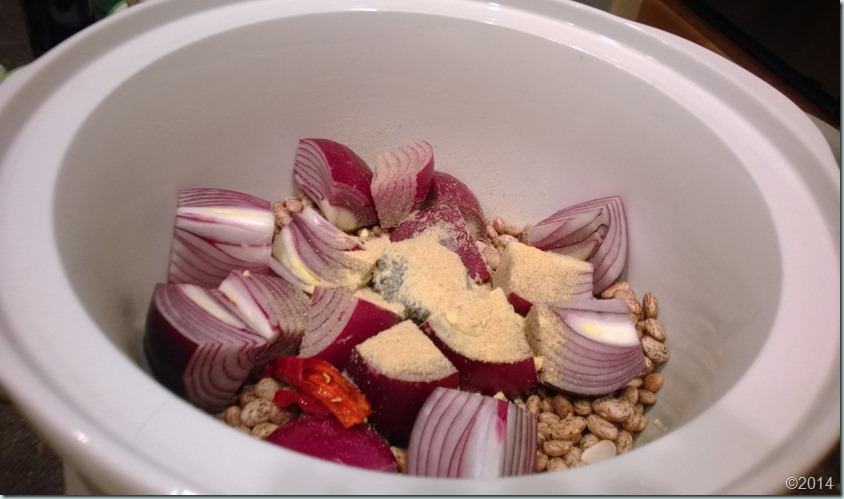
Those simple raw ingredients pictured above when combined with liquid slow transform themselves into a wonderful concoction that feeds us for weeks. Best thing about making your own beans? They are easily transformed into flavors that suit your palette or the meal you have planned. Yesterday we had taken out pork ribs for dinner and fish tacos are on the menu as well this week.
For this batch of beans I used the following:
1 1/2 cups of pinto beans
2 small red onion, quartered
1 tablespoon of beef bouillon
2 tablespoons garlic powder
1 teaspoon dry mustard
2 dried red peppers
Liquid to cover
2 Roasted and diced Poblano chilies
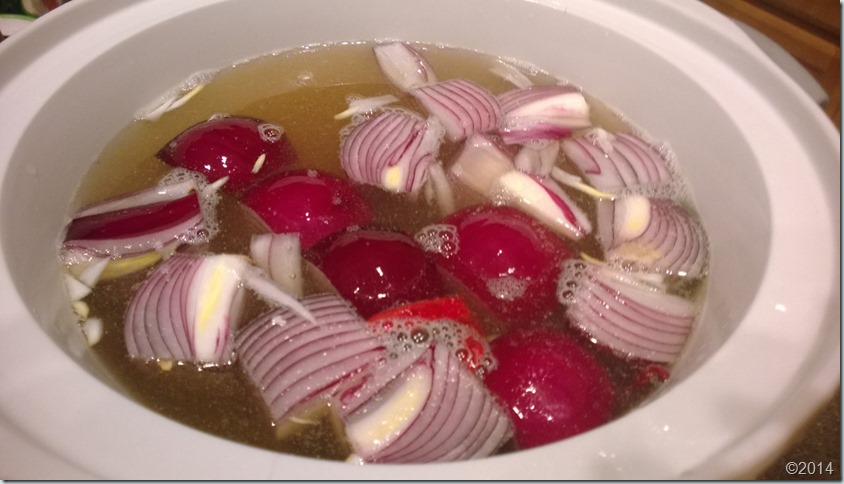
I placed mine in my four quart crock pot and cooked on low all day. Seasoning changes based on mood, these beans weren’t meant to be terribly spicy so the spices were mild.
I didn’t use stock this time because it definitely flavors the beans intensely and I was going for subtle, same reason I didn’t use smashed garlic cloves. There is no salt or pepper called for in the base recipe because the bouillon is salty and over salting the beans will cause them to be tough. Pepper is also omitted from the base recipe based on how potentially spicy the dried peppers utilized are. I happen to know the dried peppers I use are on the spicy side. The beans cooked slowly all day, the aroma was intoxicating, and I stirred the pot a couple of times during the day. It helped break up the onion chunks and evenly distribute the spices as the beans cooked.
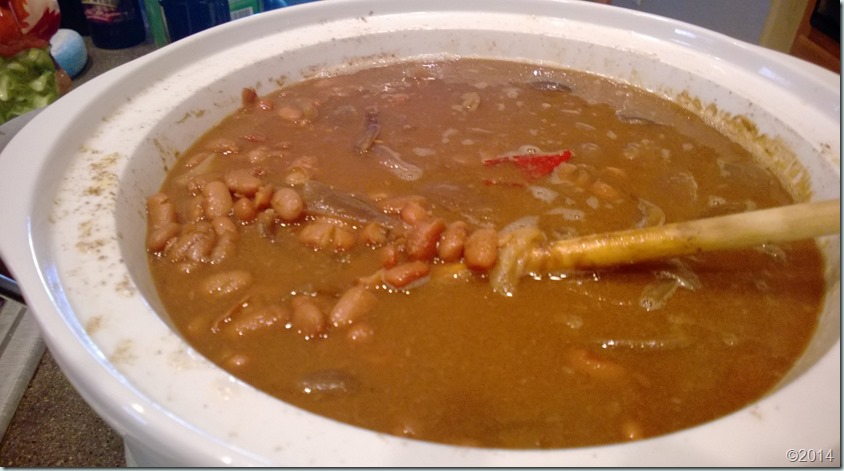
When completely softened the beans are ready to be served. Be sure to taste and check for seasoning. Salt may be needed based on how salty the bullion used was and your personal preference.
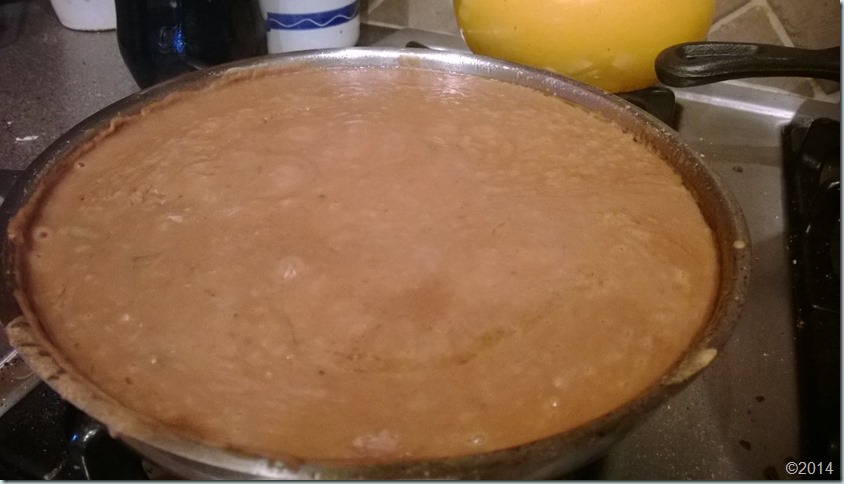
At this point, I divided the beans in half. I reserved one half of the cooked beans in my two quart crock pot and creamed the other half of the beans. To the reserved half of the beans I added one roughly chopped roasted Poblano Chili and returned to warm until dinner was ready. The remaining half of the ranch beans I subjected to the immersion blender and creamed. Be sure to include enough cooking liquid but not so much liquid the final mixture will be too loose and runny. It is easier to add liquid from the reserved beans if necessary.
IN a small frying pan, I added the rough chop of one roasted Poblano Chili to a pat of butter. Once the butter was melted and the chili heated through, I then transferred the creamed beans into a frying pan to heat through.
The beans were a little looser than my personal preference but luckily, like all bean recipes this one is very forgiving. Continue to heat gently until the beans are hot and the consistently you like. Just be careful to avoid being burned by bubbling beans when stirring.
I admit, I love ranch beans both ways. My husband does too, although he would prefer the onion chopped a little finer next time.
Pumpkin Bread
I wanted to bake this morning but nothing in my usual rotation was striking the right inspirational chord with me. So I went looking on allrecipes.com for inspiration and the results are fantastic. The inspiration recipe can be found here but I made serious changes to the recipe.
Recipe
1 can pumpkin puree (NOT pumpkin pie mix)
4 eggs
3 cups sugar
1 cup applesauce
1/4 cup to a cup of Apple juice
4 cups flour
1/2 teaspoon baking powder
2 teaspoons baking soda
1/2 teaspoon salt
1/2 teaspoon Vanilla Extract
1 teaspoon pumpkin pie spice
2 tablespoons Cinnamon
1 teaspoon Ginger
1 teaspoon Cloves
1. Preheat over to 350 degrees and prepare two loaf pans.
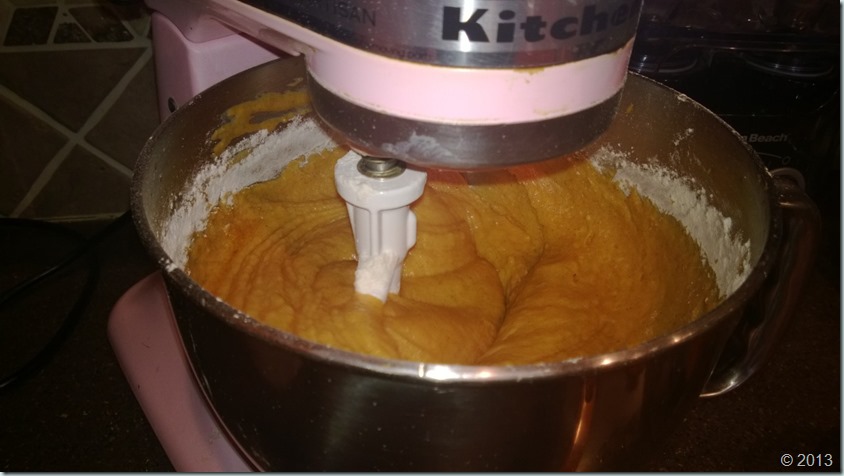
2. Combine eggs, applesauce, sugar, and pumpkin until smooth.
3. Next add the dry ingredients slowly to the wet. Combine until batter is well combined and the reasonably tight. Depending on your humidity and how loose you like your quick bread batter, add apple juice as required.
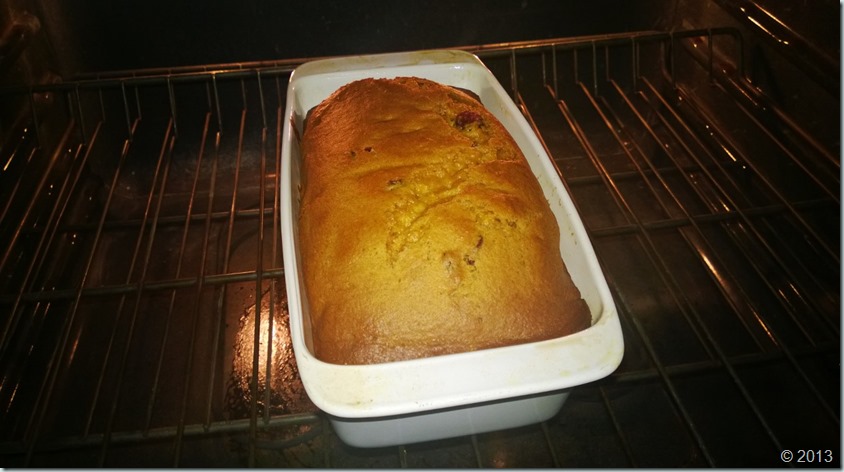
4. Evenly divide the batter into the two pans and bake until a toothpick inserted in the center comes out clean.
Tips
As usual, spices measurements are approximates. Spice the bread based on what flavors your family prefers. We prefer more ginger and cinnamon, but I know others prefer more cloves paired with pumpkins. Allspice and nutmeg would also be wonderful additions, I just didn’t have any in the spice pantry.
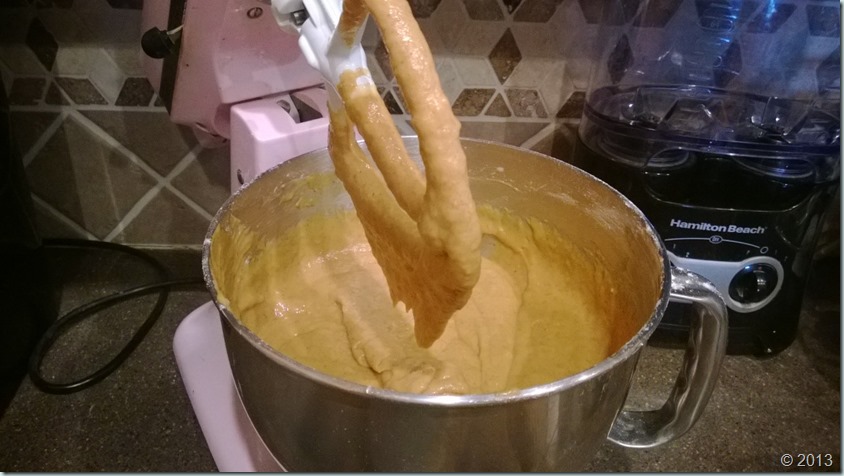
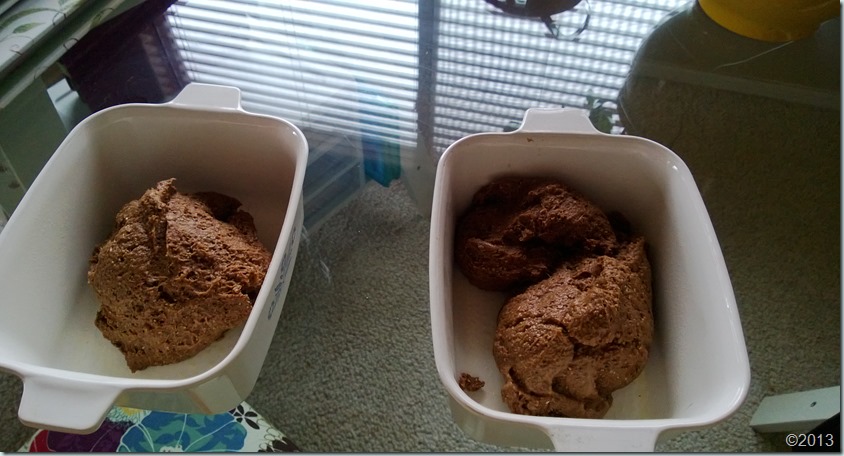
This is the consistency of my batter. It fell from the paddle slowly and in large sections, rather than dripping quickly in small portions repeatedly. I let the batter rest for a couple of minutes before dividing the batter.
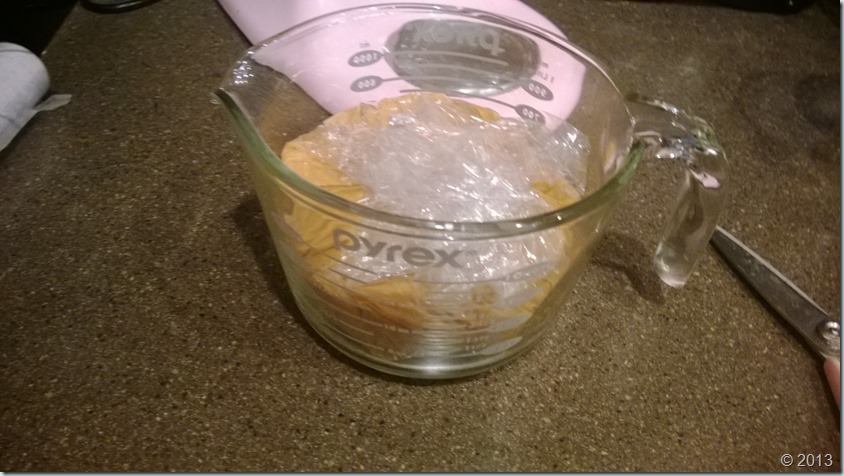
I poured half the batter into a measuring cup lined with cling film and placed it in the refrigerator to set-up before transferring it to a container to place in the freezer. With just the two of us, we won’t eat two loaves prior to one of them going to waste.
The remaining batter I added a couple of handfuls of dried cranraisins and mixed them in well. I didn’t pre-flour the additions but you can to prevent them from sinking to the bottom of the mixture. The mixture is incredibly receptive to additions. Future additions will be butterscotch chips, apples, and nuts. I am thinking grated carrots or grated zucchini will also make this bread even healthier, although adding either of those definitely means being sure to reduce the liquid in the batter because of the moistness of carrots and zucchini.
The bread was a hit with my husband and our parrot, Pickles, couldn’t get enough of it. I think the bread is dense enough to make wonderful French toast over the holidays, and versatile enough to make a savory stuffing. I know it will be amazing toasted with a smear of cream cheese. The recipe is actually pretty healthy, the applesauce is a perfect replacement for the vegetable oil called for in the inspiration recipe. Personally, I always replace oil with applesauce whenever possible.
Polish Goodness on a Sunday: Mazurki
Many decades ago, just writing that phrase makes one feel old, my little brother discovered a love for an incredibly rich and decadent Polish delicacy, Mazurki. Growing up it was in his top two favorite cookies of all time, although it is much less of a traditional cookie than it is an indulgent morsel of goodness. I remember fondly his face lighting up whenever we’d come home from school and discover a fresh pan of Mazurki waiting for us.
Recipe:
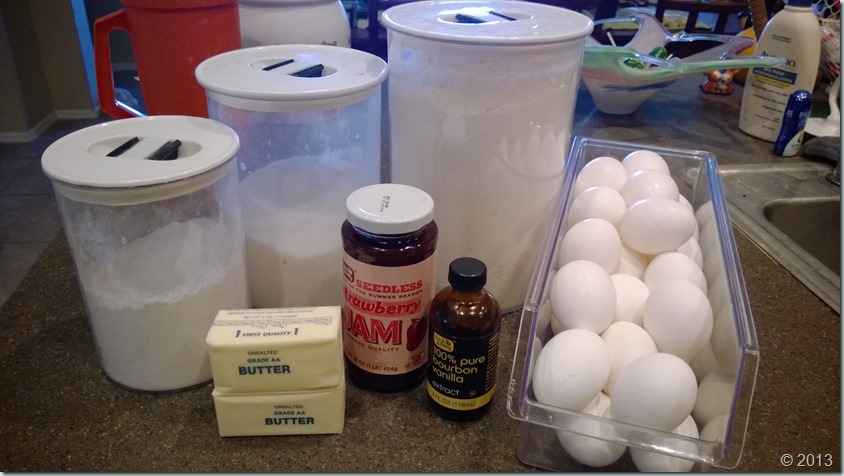
2 sticks of butter softened
1 3/4 cups all purpose flour
2 eggs
1/3 cup sugar
—
1 jar Strawberry preserves, 10 oz
—
1 cup sugar
4 eggs
1 tsp Vanilla
8 oz walnuts
—
Powered sugar to taste
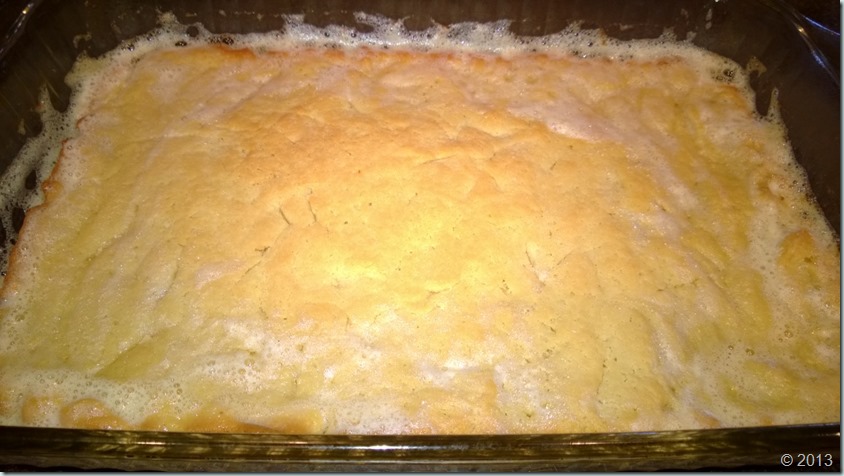
Pre-heat oven to 350. Melt butter and combine with flour and eggs. Make sure they are well combined and then spread evenly in a 13×9 pan. Bake until golden brown.
Combine sugar eggs, and vanilla. Gently fold in the walnuts .
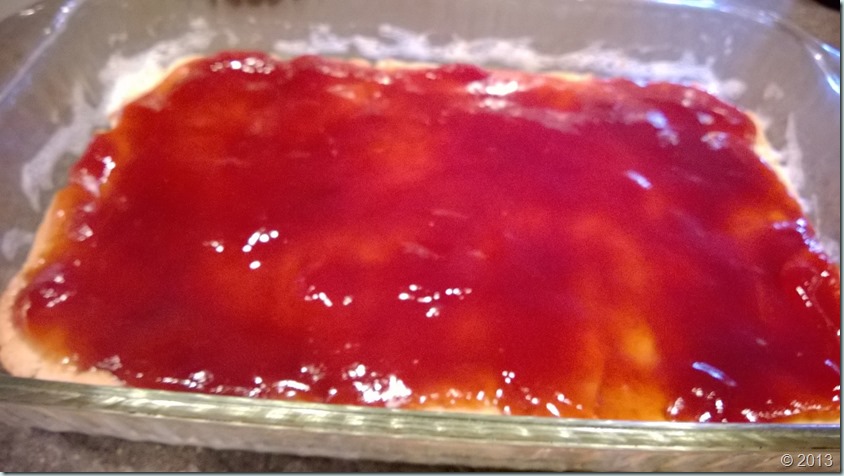
Remove from oven and evenly spread the jar of preserves over the top of the cooling cookie crust.
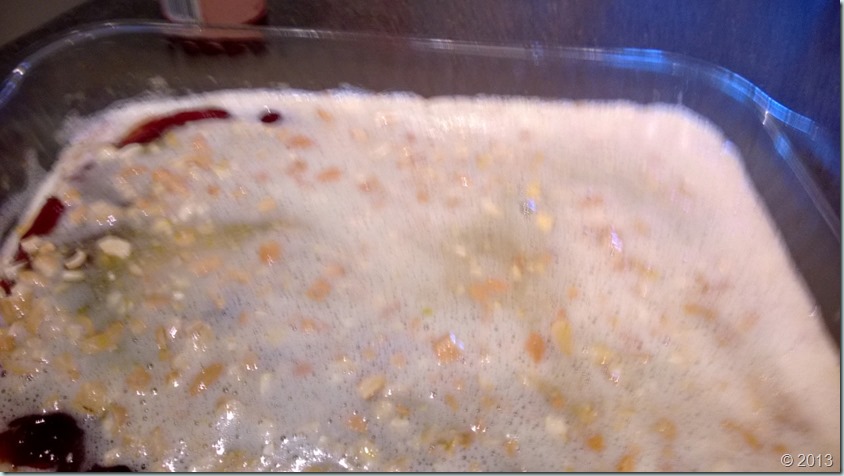
Then cover the jam with the egg and nut mixture.
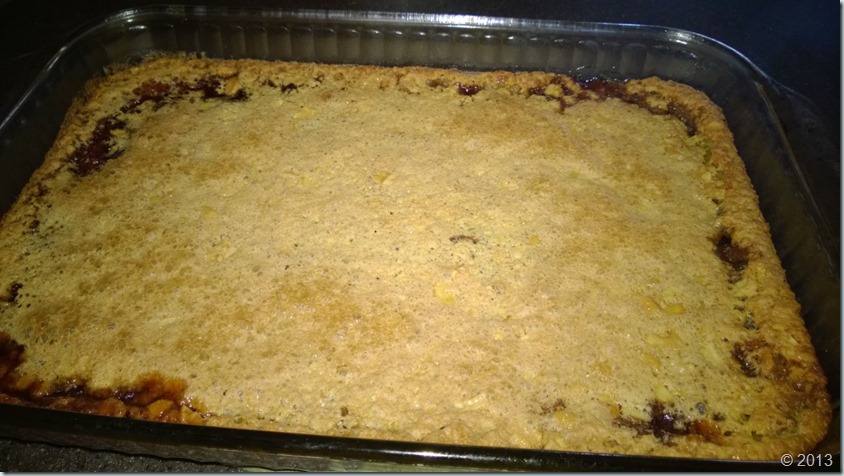
Place back in the oven until golden brown.
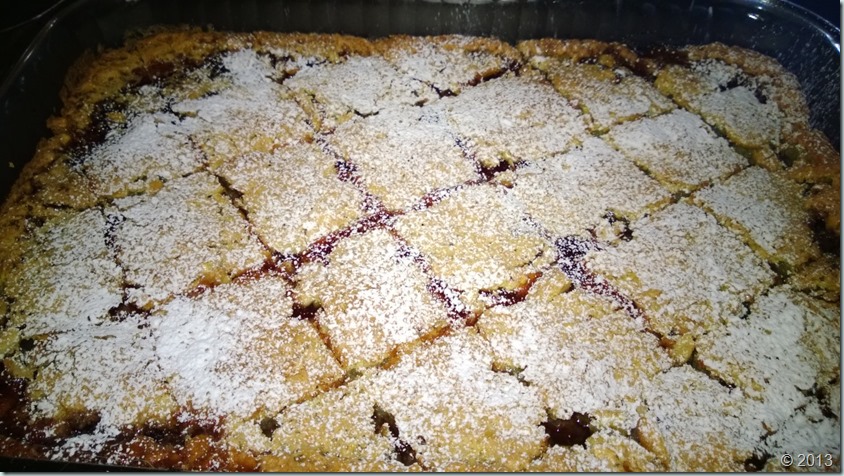
Allow to cool completely, and then cut and sprinkle with a dusting of powder sugar.
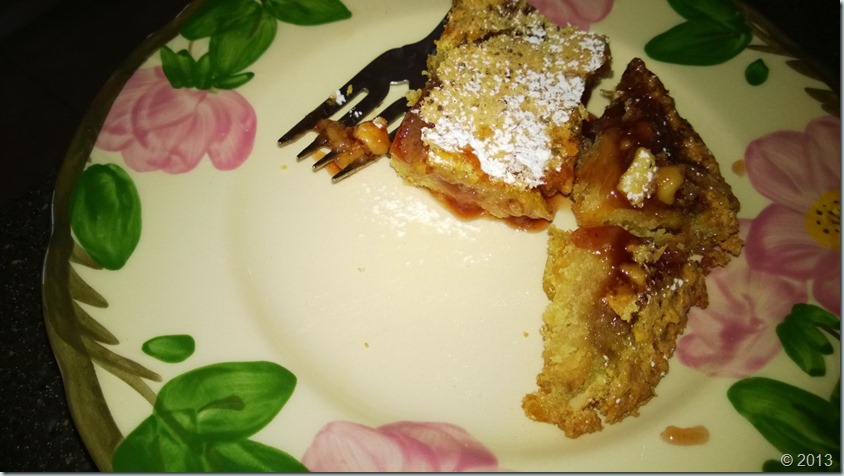
My husband doesn’t like walnuts so today I tried something new, I substituted lightly salted cashews for the walnuts. I crushed the cashew before folding into the egg mixture. Not traditional but it will be a sure fire hit with my husband. I did keep it traditional and cut into diamond shapes, simply because that’s how Mum always did.
A couple of tips. Resist the urge to spray the pan with cooking spray. The is more than sufficient butter in the base of the cookie to prevent sticking. It won’t necessarily harm the recipe if you spray the pan but it won’t help either. These need to be refrigerated to keep them fresh. They can be made ahead of time and frozen. They keep well in the freezer and thaw nicely on the counter for a quick dessert when unexpected company arrives.
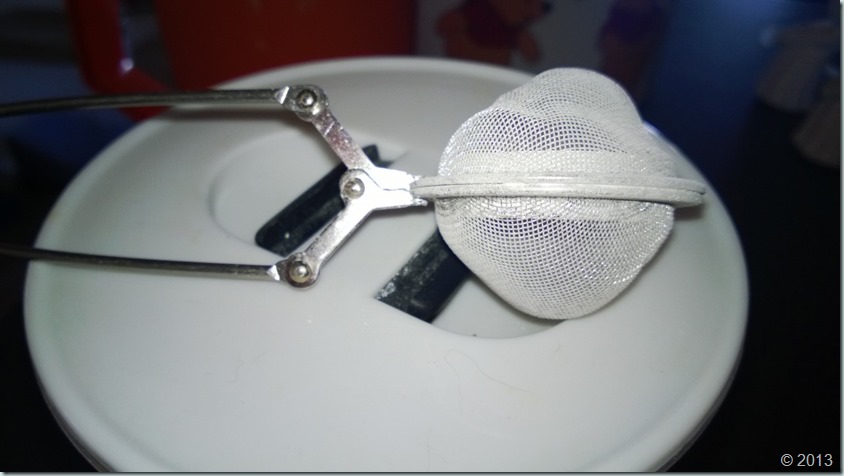
And here is my secret weapon, for any recipe calling for sprinkled powered sugar:
It’s my loose tea holder. It has a super fine mesh which allows for a perfect light dusting of powered sugar without it flying all over the kitchen in the process.
I just taste tested and the cashews are simply amazing! The lightly salted cashews cut through the sweet nicely which my husband will appreciate. It should be safe to substitute the favorite nut of your choice if you don’t like walnuts or cashews.
Real Bread Campaign
As you know, I routinely bake bread. We as a family prefer the texture, taste, and quality of homemade bread to that over processed crap that you grab from the supermarket shelf. Bread making isn’t difficult, in fact, it is nowhere near as difficult as professional chefs try and make it out to be. Honestly, I throw the ingredients in the mixer, knead the dough, let it rise and bake it. Not complicated, not time consuming and the end result is the wonderful smell of homemade bread baking and the incredible taste and texture of the bread as the ultimate reward.
Over in Britain there is an amazing campaign called Real Bread. Focus of the campaign is to provide better quality bread products to residents and to teach residents how simple and easy it is to make bread themselves. The campaign is striving for lofty goals of preservative free bread and bread that has ingredients that are pronounceable and everyone knows what they are. Lucky UK residents can join the campaign for a mere £10 a year and get a large number of membership benefits. The movement is open to non-UK residents but the quality of membership is much diminished because lack of proximity to events, classes, and sources.
We here in America need to start a grass roots movement like this and take back what good bread means. Nothing quite beats a loaf of bread fresh from the oven.
Here is my husband’s favorite bread recipe*:
Ingredients:
4 cups of bread flour
2 eggs
Pinch of Salt
1 1/2 teaspoons of active dry yeast
1 teaspoon of sugar
One stick of unsalted butter, small cubes
Water or milk
Preparation:
Toss the ingredients in the mixer and kneed with the dough hook attachment. Add enough liquid until the mixture forms a ball and pulls away from the sides of the bowl. Separate into two loaf pans, cover and let rise. Punch the dough down a couple of times just to let the air bubbles pop, and then cover and rise again. Bake in a 350 degree oven until golden brown.
Tips for Success
Milk will make a more tender loaf, but only if you use milk with a 2% or higher fat content. The amount of liquid you need will vary depending on where you live, more humid climates will require less liquid than dry climates. Bread prefers to rise in a warm environment, any house temperature above 75 should be sufficient. Best tip, don’t worry about having a perfect looking loaf or trying to become a world class bread baker overnight. Experiment, try what works for your tastes and your family’s preferences. Add ingredients that sound like they’d taste good.
Experimentation leads to failure sometime and it also leads to amazing successes! So join the growing movement of bread bakers and bake a loaf today.
*Not pictured above, the above loaf was Steakhouse Bread.
What to do with slightly dry smoked meat?

This weekend my husband smoked two large pork roasts and two beef tri-tips. The meat turned out beautifully and believe me, dinner Saturday evening was incredibly good with homemade BBQ sauce.
One of the tri-tips was a little over smoked, still tasty but a little dry. We solved that with BBQ sauce which made incredibly tasty sandwiches. Tonight, I shredded the other tri-tip and decided to make Smoked Beef Santa Fe Enchiladas. They were amazing and luckily they are incredibly simple to assemble and a great way to use up leftovers.
Smoked Beef Santa Fe Enchiladas
Corn tortillas
Enchilada sauce
Shredded Cheese
Smoked beef (any meat can be substituted simply)
Pre-heat oven to 350° and spray an 8×8 pan with cooking spray. Take four corn tortillas and individually coat in enchilada sauce and place in pan. Place a layer of smoked beef, shredded into bit size pieces, and then cover with shredded cheese.
Assemble three layers and then place one single layer of coated corn tortillas on the top of the third layer. Drizzle the remaining enchilada sauce over the enchiladas and cover with aluminum foil. Place in oven and bake for 45 minutes. Remove the foil and add one last handful of shredded cheese, return to the oven until melted.
Serve warm with a side salad and Ranchero Beans.
